Devil Jin Combos and Tech
1. Combos
As of Season 3 1+4 does the same amount of damage as 2 when used in combos. 2 is still more flexible.
The italicized number is the damage.
Bolded combos are the bnbs that I personally try to use.
1.1. EWGF
EWGF f,f+4 S! f,f+3,1~ff 2 (f+3+4_b+2,3_b+2,1_(2),2) 67
EWGF EWGF f,f+4 S! f,f+3,1~ff 2 f+3+4 74
EWGF f,f+4 S! f,f+3,1~ff 1+4 f+3+4 67
EWGF f,f+4 S! f,f+3,1 1 b2,1~u 72
EWGF EWGF f,f+3,1~ff 2 b2,3 S! (b2,1~u_df3,2,4(u)) 75
EWGF f,f+4 S! SSR f,f+3,1~ff df3,2,4~U 76
1.2. CH DF2
CH df2 (1_2) f,f+4 S! f,f+3,1~ff 1+4 f+3+4
1 is 2 frames more lenient, 2 is more damage.
CH df2 EWGF_df2 2 b2,3 S! f,f+3,1~ff (EWGF_b1,2)
1.3. CH B4 or DF2
CH b4 dF2 2 b2,3 S! f,f,f,n,2 F+3+4 58
CH b4 dF2 2 b2,3 S! f,f+3,1~f,f (EWGF_b1,2) 61, 70
CH b4 DEWGF 2 b2,3 S! f,f+3,1~f,f (EWGF_b1,2) ?,64
The b1,2 ender has good carry and damage, but it needs a DEEP f,f+3
1.4. d+3+4
d+3+4 d/f+2,2 b+2,3 S! f,f,f,n+2 (f+3+4_b+2+3_b+2,1)
d+3+4 1_2 f,f+4 S! f,f+3,1~ff 2 f+3+4
d+3+4 1_2 f,f+4 S! f,f+3,1 1 b2,1~u
d+3+4 2 does more damage but gives you 2 less frames of leniency
1.5. CH Get Up Low Kick
DEWGF 1 b+2,3 S! ender
ws1,4 S! ff+3,1~ff 2 f3+4
1.6. HS or CD3
HS/CD3 1+4 2 b2,3 S! f,f,f,n,2 (F+3+4_b2,3)
HS/CD3 1+4 2 b2,3 S! b2,1~u
HS/CD3 1+4 2 b2,3 S! 1+4 W!
HS/CD3 1+4 dash 1 b2,3 S! df3,2,4~u
1.6.1. Non clean hit
HS CD3
If they try to stand up CD3 will pick up for the same combo as the hellsweep
1.6.2. d+2 variants
Only works on smalls and at range 0
HS d+2 WS1,4 S! f,f+3,1~f,f, f+2,4 (MAX DAMAGE)
HS d+2 WS2 S! f,f+3,1~ff 2 f+3+4
1.7. WS2
WS2 DEWGF 1 1 1 1 (f+3+4_EWGF)
WS2 ff+3,1 1 b,f+2,1,2/b,f+2,1,d+2 (50/51)
WS2 SSR DEWGF 1 f,f+3,1~f,f df+3,2,4~u (60)
WS2 DEWGF 1 1 1 b2,1~u
WS2 ff+3,1~ff,n,2 f+3+4
1.8. RD
RD ws1,4 S! f,f+3,1~ff 2 f+3+4
RD ssl EWGF 2 b2,3 S! f,f+3,1~ff EWGF
RD d/f+2,2 b+2,3 S! (b+2,1~u_b+2,3)
RD f,f+4 S! f,f+3,1~ff 2 b23
1.9. Wall combos
b2,1~u
bf2,1<2
1,2 b4
1,1 d1
df3,2,4~u W! FLY 3 b4
CD 1 (when the combo before had few hits. Obsolete)
1.9.1. Resplats
f,f+2 W! b,n,b 2 b2,1~u
W! ssl f3 b2,1~u (looks cool, but the damage is not that good)
W! ssr d+3+4 b2,1~u
W! ssr ws1,2 b2,1~u (90 damage. max damage)
1.9.2. RD
Using RD at the wall is how you lose rounds and cry because it will randomly miss a lot of the time.
RD CD 1
RD ws1,4 S! f,f+3,1~ff 2 f+3+4 (off axis only)
1.10. Low Parry
B! f,f+4 S! f,f+3,1~ff 2 f+3+4
B! EWGF 2 b+2,3 S! f,f+3,1~ff (EWGF_b+4)
1.11. U+4
u+4~u,1 S! ff+3,1~ff 2 f+3+4
1.12. Backturned
Taken from the DVJ discord channel
b,f2,1,df2:
- ewgf, b2,3 S! ff312 = 87 damage
- ewgf, b2,3 S! b,f2,1,4 = 86 damage spike ender
- ff4 S! ff31 df44 = 85 damage spike ender (note: don't ff cancel ff31)
- ff4 S! ff312 = 84 damage
- ff312 S! ff312 = 81 damage
df3,2,4~u FLY 1:
- ff31 df44 = 67 damage
- ff312 = 66 damage
ewgf:
- ewgf ff312 S! b2,3 = 66 damage
- ewgf b2,3 S! ff312 = 66 damage
- ewgf b2,3 S! b,f2,1,2 = 66 damage
- ewgf ff312 S! cd~ff31 = 64 damage
more samples on what can hit BT (after S!) b,f2,1,df2, ewgf b2,3 S! :
- b,f2,1,2 = 87 damage
- b,f2,1,df2 = 86 damage
- b,f2,1,4 = 86 damage
- f1+2 = 84 damage
- df3,2,4 = 83 damage
- b2,3 = 83 damage
- b1,2 = 83 damage
- d3+4 = 81 damage
1.13. UF4
Only works when the wall is directly to your left
uf4 1+4 2 b2,3 S! f,f,f,n,2 (F+3+4_b2,3)
2. Tech
2.1. d+1+2 reset
d+1+2 after f,f+3,1~ff hits if they don't mash tech roll
2.2. S3 u/f+4
NOTHING IS GUARANTEED
- Deep Dash B4 catches all options but staying on the ground and side rolling
- Delayed deep dash B4 catches side rolling
- iwr d3 catches all options (?)
- Deep Dash EWGF relaunches wakeups
- Wavedash f,f+2 knocks down all wakeups
- Dash df+1+2 relaunches getup kicks for a guaranteed b4 and catches every option but staying down
2.3. Unscaled b2,1
You usually get a guaranteed unscaled b2,1~u after the following enders. This is never a guarantee:
- sidewall splat
- b23 as wall carry
- b21 as wall carry
- as fast as possible after f3+4
- 1+4 as wall carry
- you have to wait a bit after bf21d2 as wall carry
- direct bf21d2 splat
- cancan resplat
2.4. WR3 shortcut
f,d,df~uf3
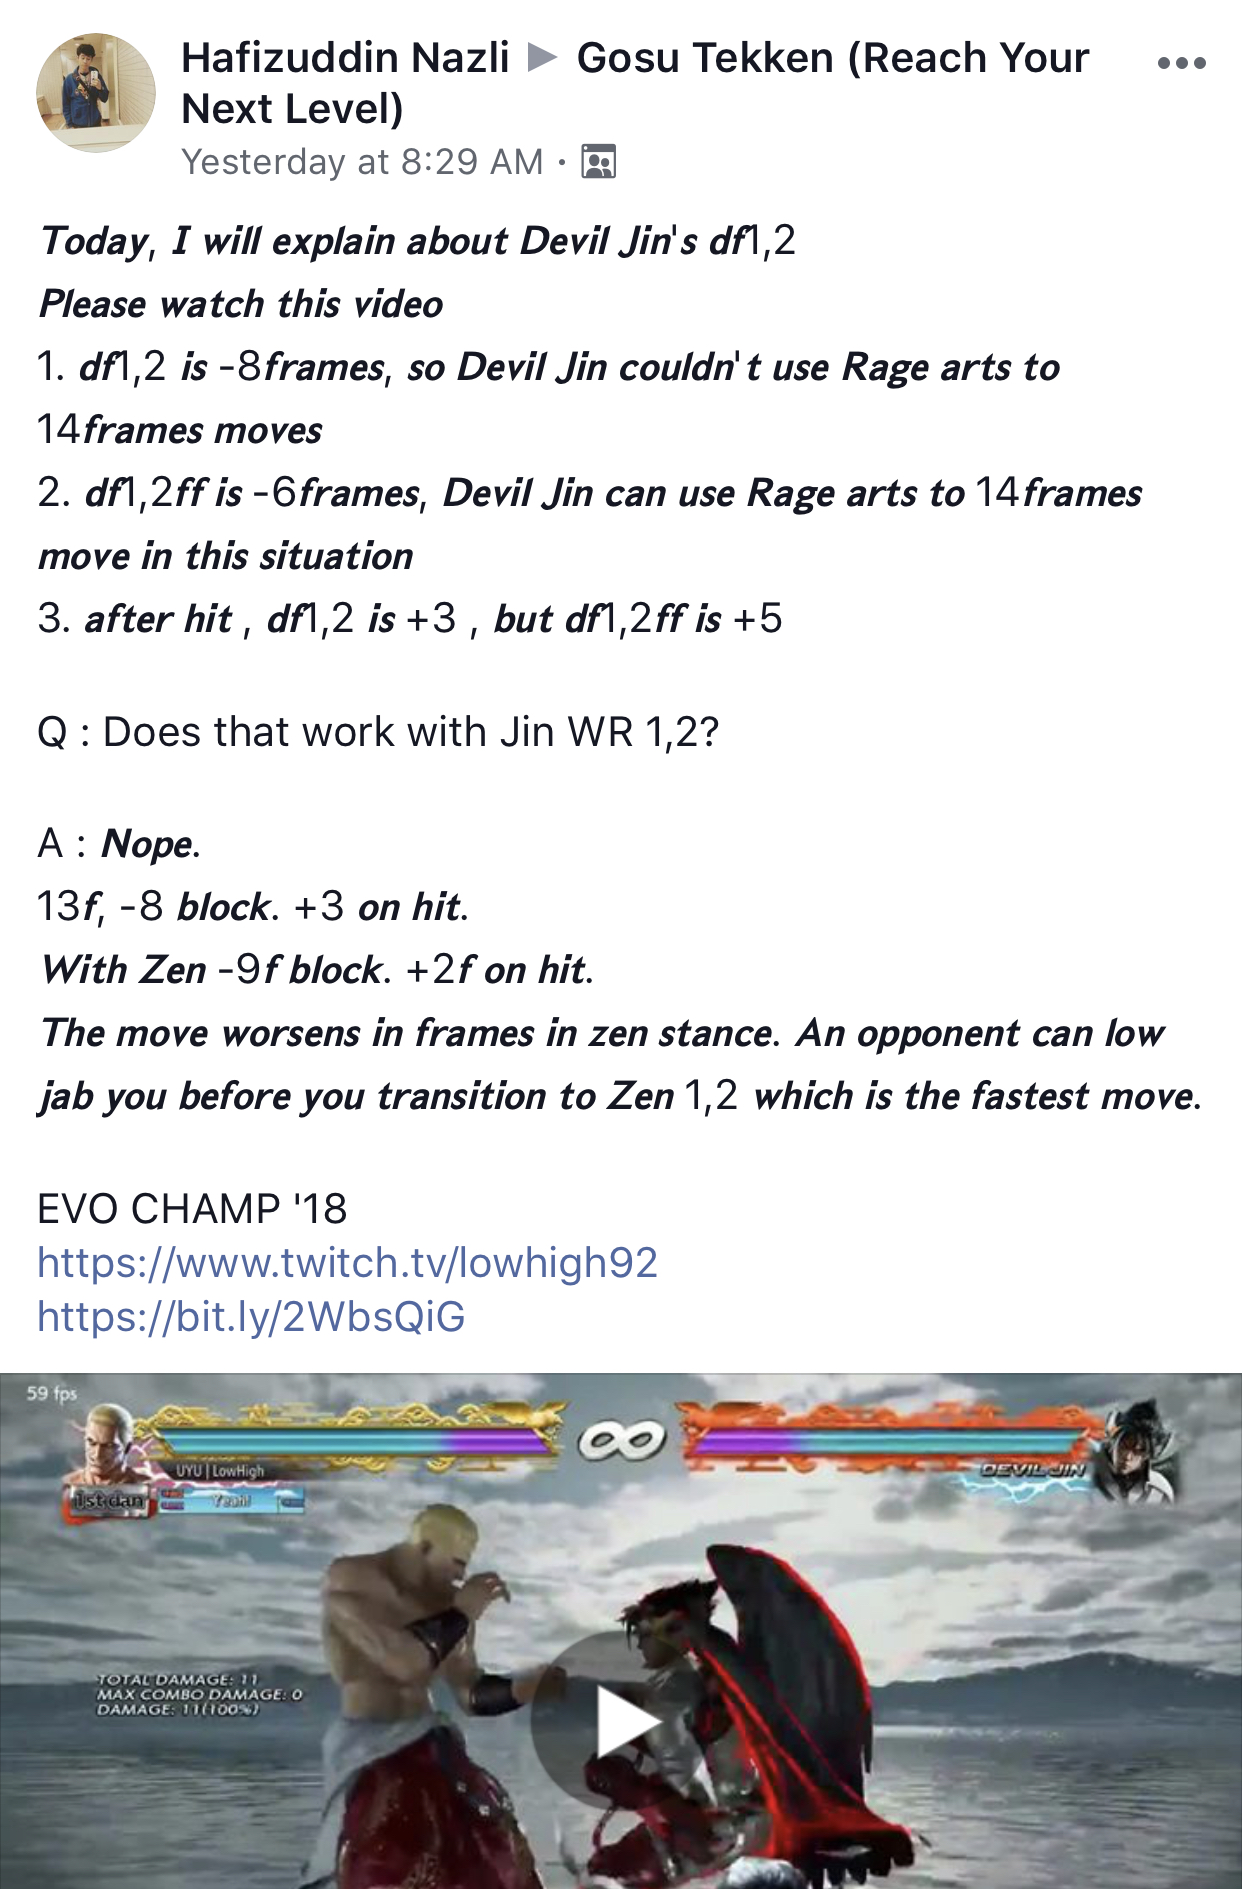
2.5. df1,2, ff
- df1,2 is -8 on block
- df1,2~ff is -6 on block
- df1,2 is +3 on hit
- df1,2~ff is +5
2.6. df+1+2 wall spike
W! df+1+2 guarantees laser if they don't back roll.
If they do back roll, then it's a 50/50 between demon paw and d+1+2 (it's somewhere around -14 but almost no punishers reach)
2.7. Random Cheese
- df1+2 into ws2 beats jabs
3. Matchups
3.1. Heihachi
WS2 is annoying. Have to do a delayed df2, b4 or ewgf to catch it.
3.2. Nina
Parry is an OS for the 1,2 string.
3.3. Yoshimitsu
Flash punishes df1,2~ff on block.